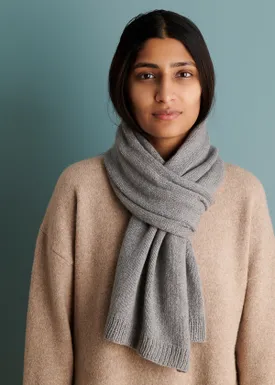
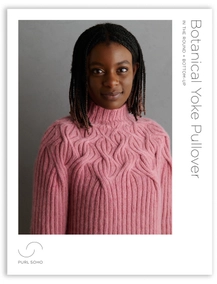
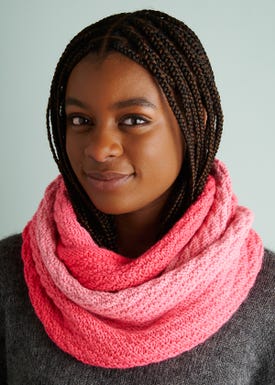
Check Out Our Latest Free Patterns! VIEW ALL
Look what we’ve been up to! Browse these hot-off-the-needles projects and get inspired to make something beautiful!


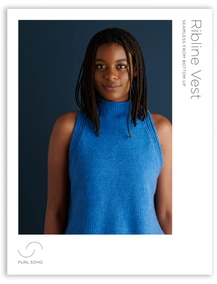
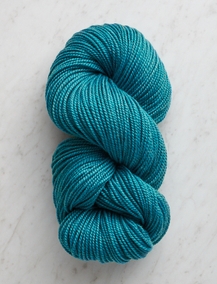
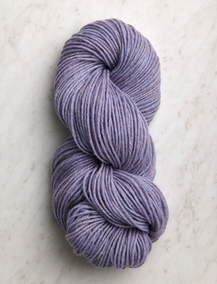
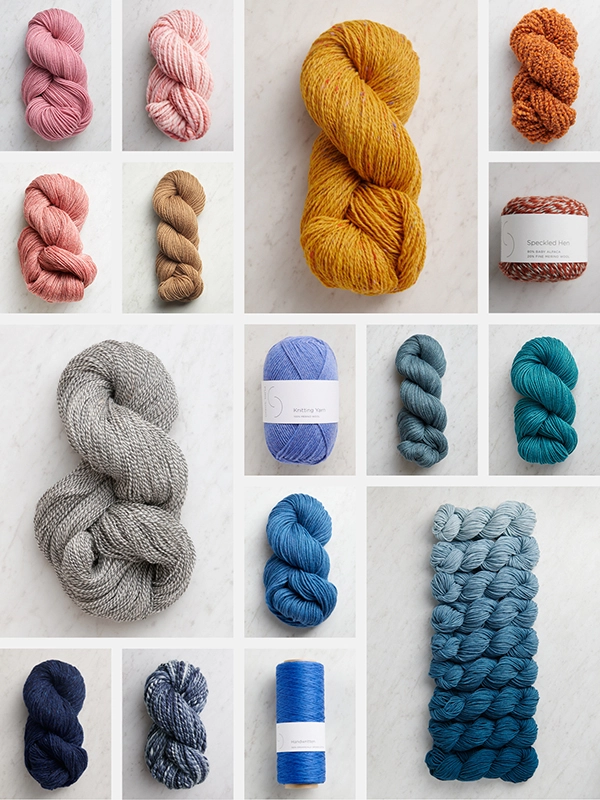
Beautiful Yarn For Beautiful Knitting! VIEW ALL
5 seasonal favorites from our amazing collection of 43 yarns, available in over 700 gorgeous colors. Our natural fibers feel amazing in your hands and add depth and beauty to your knitting!


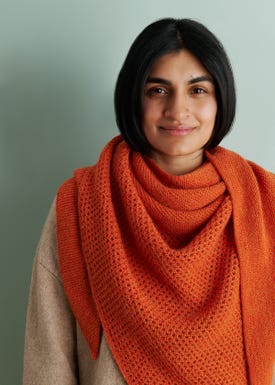
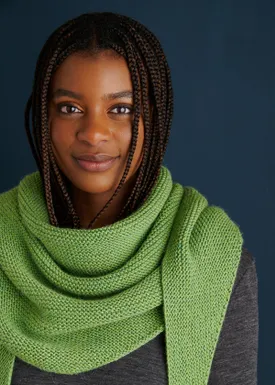
Check Out Our Latest Free Patterns! VIEW ALL
Look what we’ve been up to! Browse these hot-off-the-needles projects and get inspired to make something beautiful!
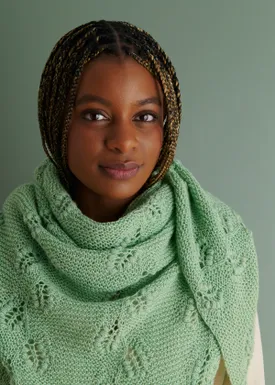
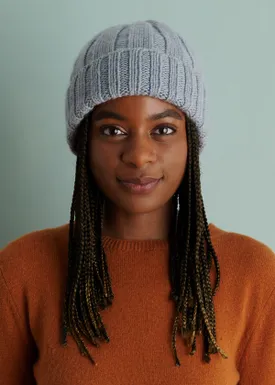
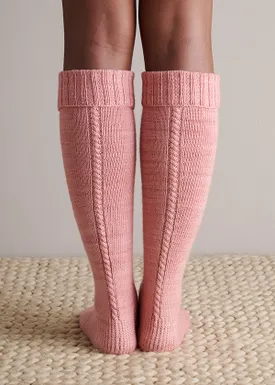
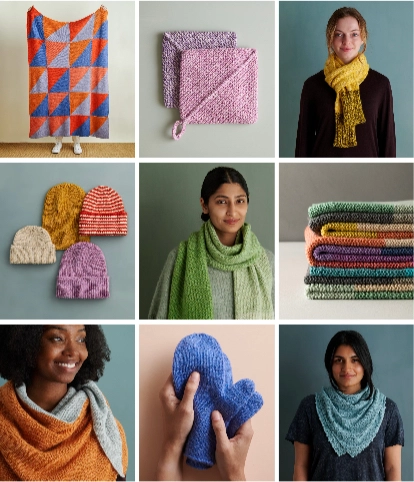
Check Out Our Latest Projects VIEW ALL
Look what we’ve been up to! Browse these hot-off-the-needles projects and get inspired to make something beautiful!

Browse Our Gorgeous Yarns!

Get 20% Off!
You’ll Also Get A Booklet Of These 9 Patterns for FREE!
By providing your email, you agree to receive marketing communications from us and consent to our use of your email address in accordance with our Privacy Policy and our Terms of Service.
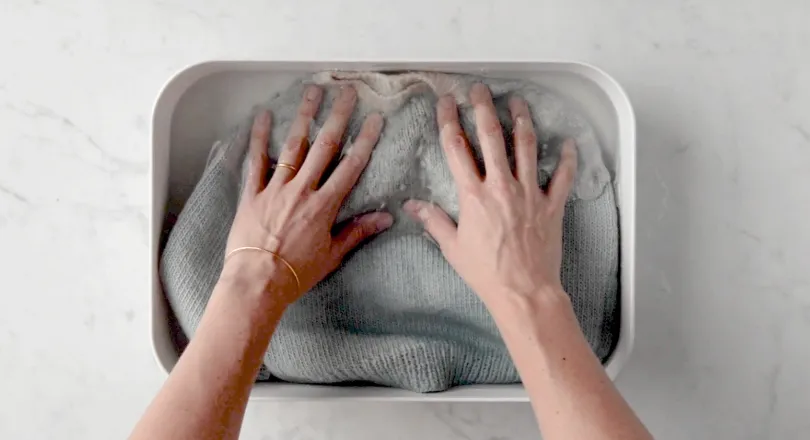
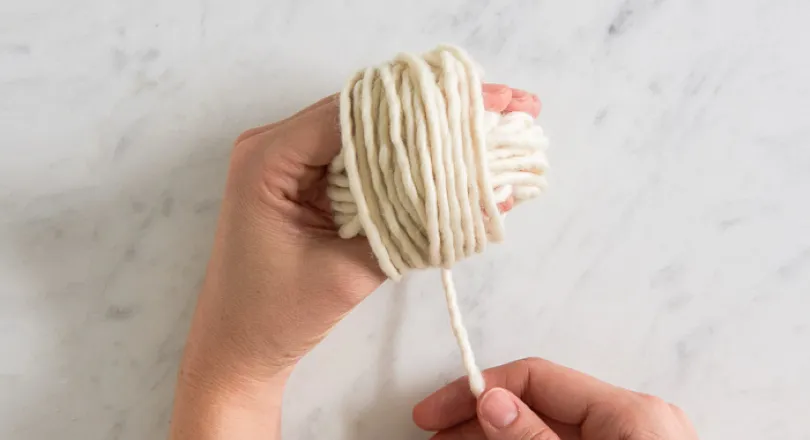
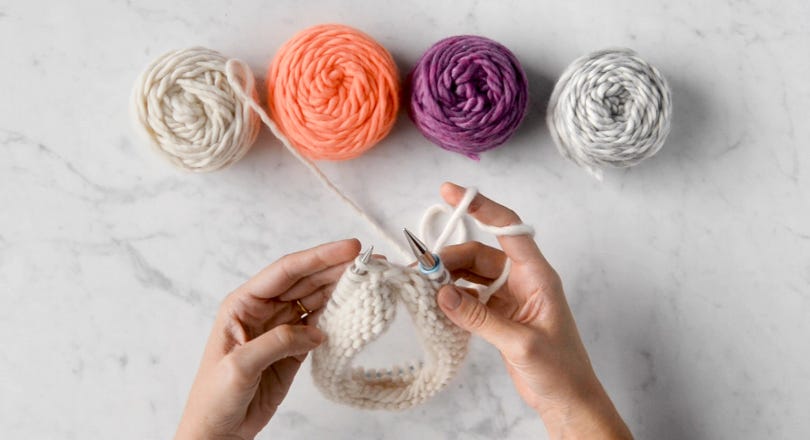
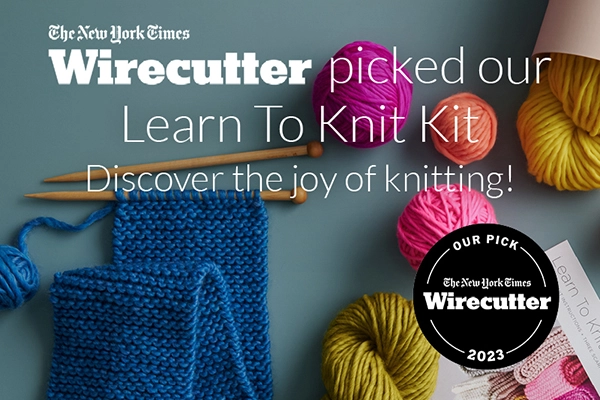
Tons Of Tutorials! VIEW ALL
Never let a new stitch or cast-on hold you back. From beginner basics to advanced techniques, we'll walk you through every step!